A structured cervical radiculopathy exercise program is one of the most effective tools for relieving the radiating neck and arm pain caused by a pinched nerve — and for most people, it works without surgery.
Here is a quick overview of what an effective program includes:
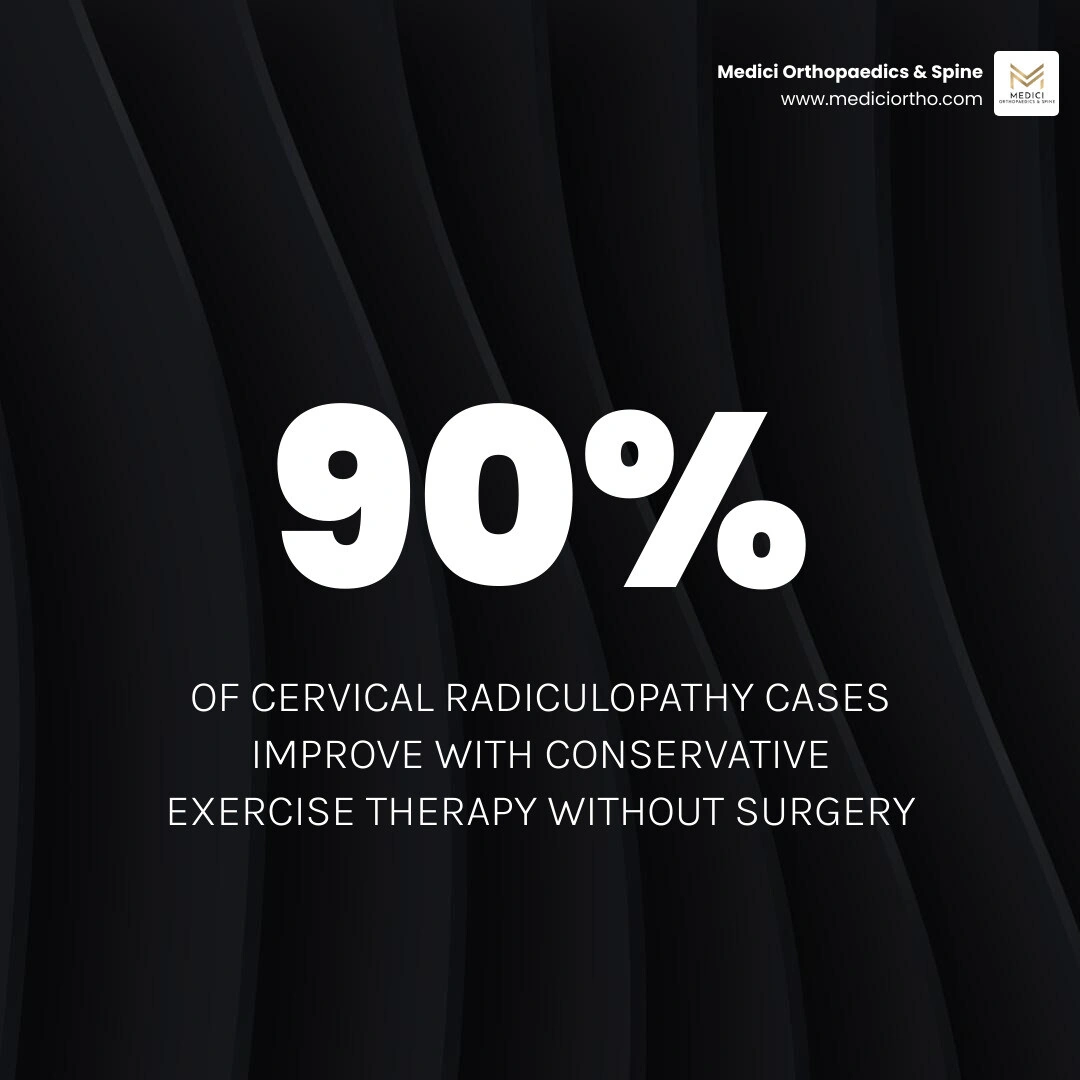
The bottom line: Up to 90% of cervical radiculopathy cases improve with conservative treatments like exercise and physical therapy. Most people recover naturally within 3 to 6 months.
Radiating pain, numbness, tingling, or weakness traveling from your neck into your shoulder, arm, or hand — these are the hallmark signs of cervical radiculopathy, also called a pinched nerve in the neck. It happens when a nerve root leaving the cervical spine gets compressed or irritated, often due to a herniated disc, bone spur, or age-related wear on the spine.
The good news? The research is clear: a targeted, progressive exercise program can reduce pain, restore strength, and get you back to doing what you love — often matching the long-term results of surgery, but without the risks.
I'm Sonny Dosanjh, M.D., board-certified in Physical Medicine & Rehabilitation and fellowship-trained in Multidisciplinary Pain Management through Emory University, where I also serve as an Adjunct Assistant Professor. At Medici Orthopaedics & Spine, I have helped hundreds of patients across Metro Atlanta design personalized cervical radiculopathy exercise programs that prioritize non-surgical, minimally invasive recovery — and in the sections below, I'll walk you through exactly how to do the same.
To understand why a cervical radiculopathy exercise program is so effective, we first have to look at what is happening inside your neck.
Your cervical spine consists of seven small vertebrae separated by intervertebral discs that act as shock absorbers. At each spinal level, nerve roots exit the spinal cord through tiny openings called neuroforamina, traveling down into your shoulders, arms, hands, and fingers.
When these exit pathways narrow, the nerve roots become compressed or inflamed. This is most commonly caused by:
Nerve root compression typically targets specific pathways. The most frequently affected levels are the C7 nerve root (accounting for roughly 60% of cases) and the C6 nerve root (accounting for about 25% of cases). Compression at C6 often causes pain and tingling that radiates into the thumb and index finger, while C7 compression sends symptoms down the back of the arm and into the middle finger.
Fortunately, the nerve root ganglion only takes up about one-third of the space inside its bony exit canal. This means there is plenty of room to work with, and you do not necessarily need to "decompress" the spine surgically to find relief. Often, simply reducing local inflammation and improving neck mechanics is enough to make the pain disappear.
If you are wondering how to navigate this without going under the knife, we have compiled detailed guides on How to Treat Cervical Radiculopathy Without Surgery and explored the big question: Can You Treat Cervical Radiculopathy Without Injections or Surgery?
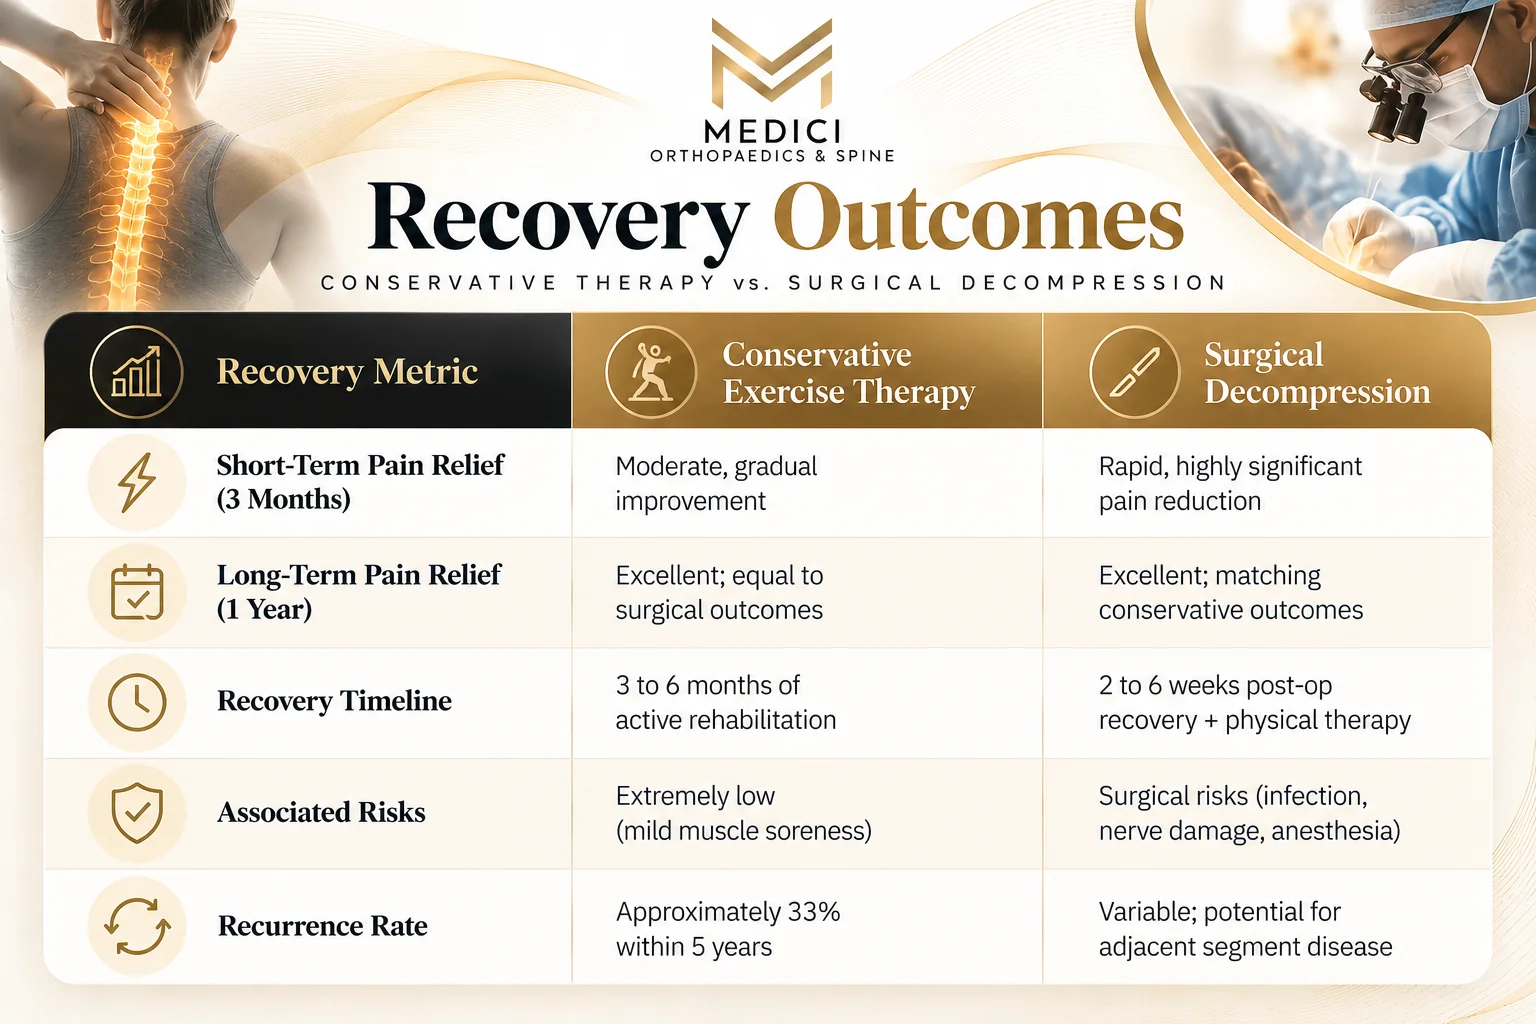
To give you an idea of how conservative management stacks up against surgical intervention, look at the clinical outcomes at different milestones:
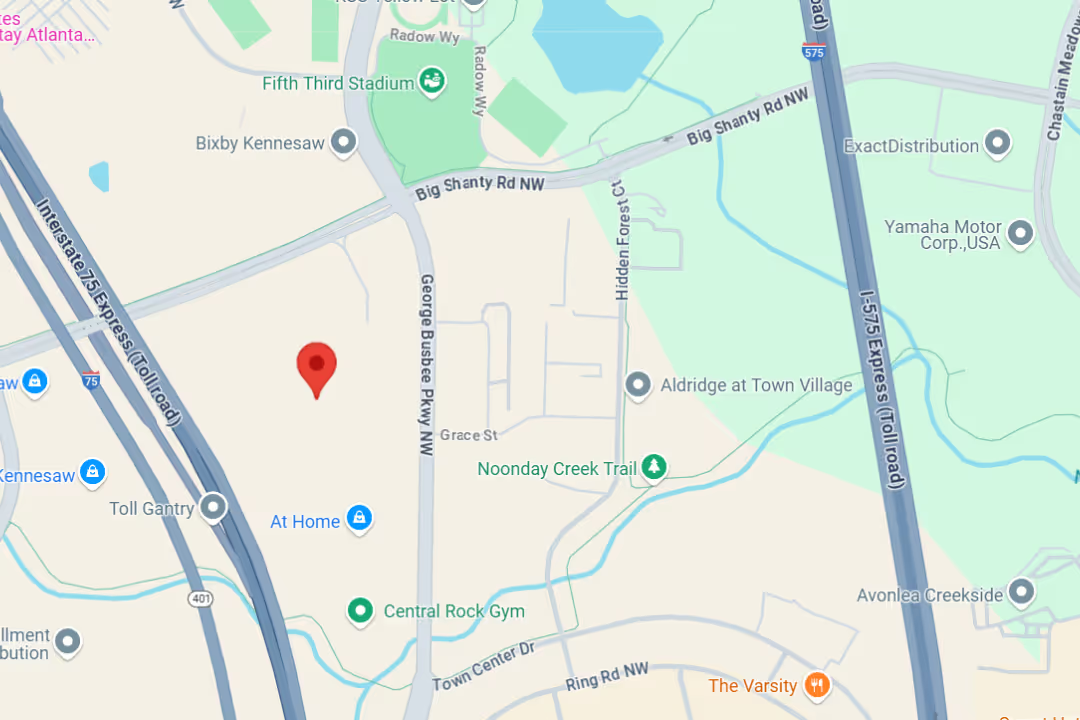
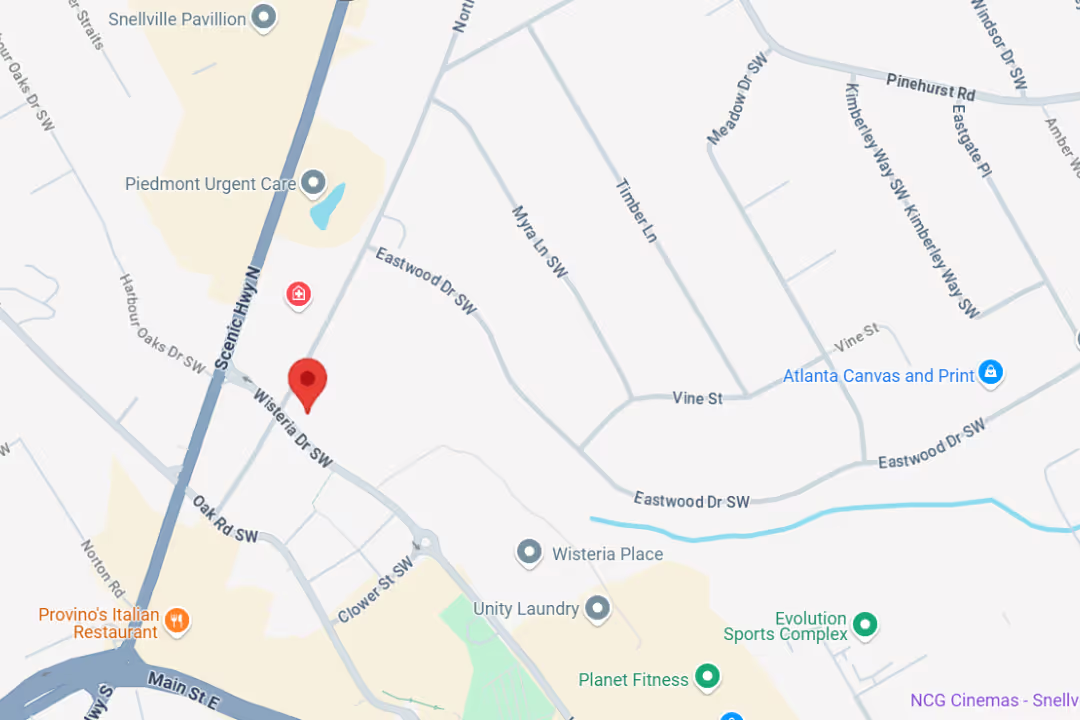
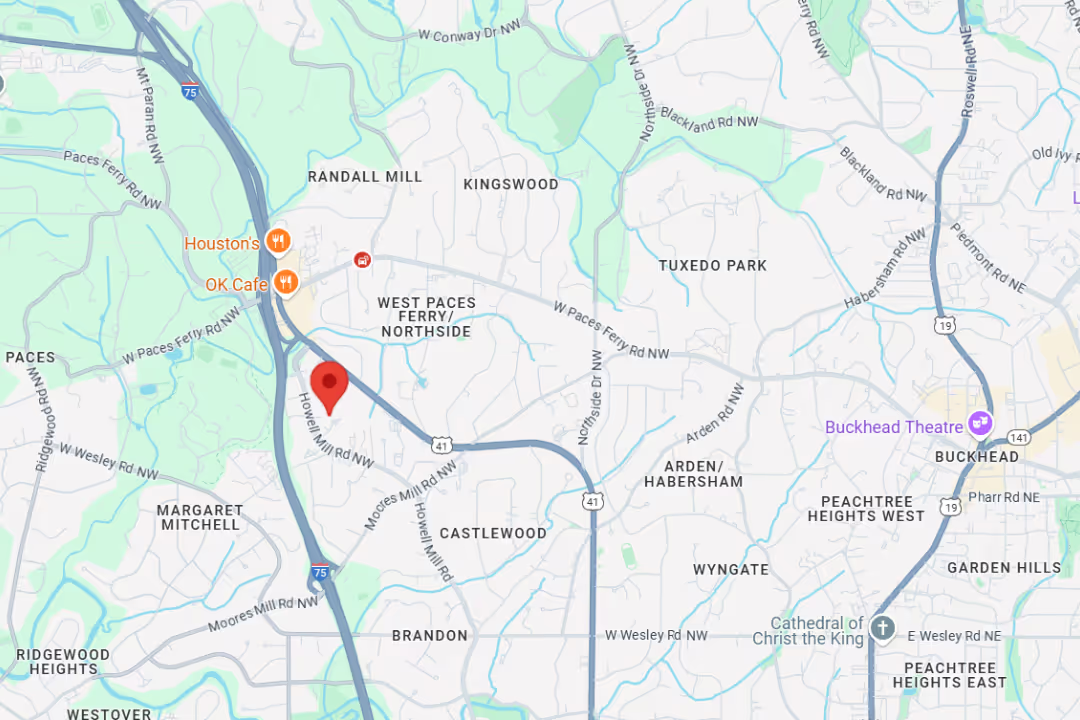
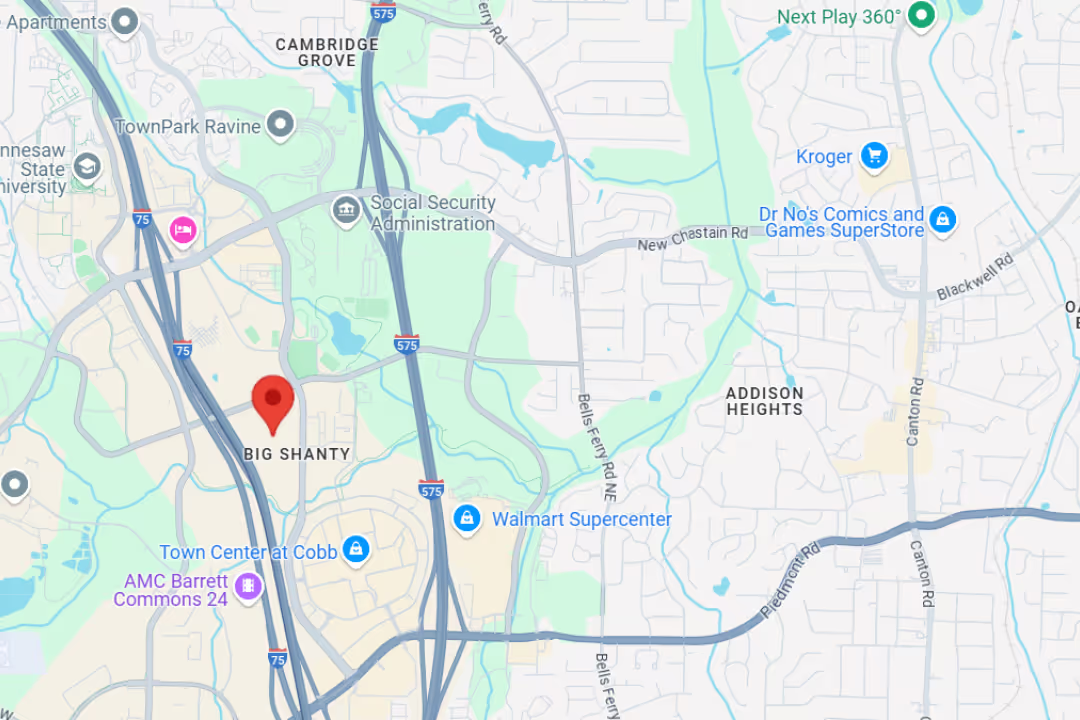
Many patients walk into our clinics in Snellville, Kennesaw, Buckhead, or Marietta feeling terrified that a pinched nerve means they are headed straight to the operating room. But the medical literature tells a much more reassuring story: up to 90% of cervical radiculopathy cases improve with conservative care.
In fact, 75% of patients see noticeable improvement within just 4 to 6 weeks of starting targeted therapy. The natural history of a pinched nerve is highly favorable. In 9 out of 10 cases, the pain resolves entirely on its own or with basic conservative treatments within 3 to 6 months.
Nerves are incredibly resilient, tough structures protected by a durable outer sheath. When a disc herniates, the body's natural immune response often breaks down and reabsorbs the protruding material over time—a process known as spontaneous resorption.
By utilizing a structured physical medicine approach, we can manage your symptoms, protect your muscles from weakening, and accelerate this natural healing process. For a deeper look at your non-surgical options, check out our resource on Cervical Radiculopathy Without Surgery: Realistic Pain Relief Options.
If you want to dive into the academic research supporting these statistics, a comprehensive Literature review on non-operative exercise therapy confirms that structured exercise significantly improves both body function and daily activity participation for patients dealing with cervical nerve compression.
When we look at high-level clinical trials, the debate between exercise and surgery becomes much clearer. A systematic review of multiple randomized controlled trials (RCTs) evaluated the quality of research using the PEDro scale (a validated 11-item checklist used to rate the quality of physical therapy studies). The reviewed studies scored between 5 and 8 out of 10, indicating high-quality, reliable research.
What did these clinical trials find?
While surgical decompression (such as an anterior cervical discectomy and fusion, or ACDF) often provides faster pain relief within the first 3 months, there is no significant difference in pain intensity, neck range of motion, or overall disability between surgery and conservative exercise therapy at the 1-year and 2-year follow-up marks.
In other words, taking a patient, active approach to rehabilitation yields the exact same long-term results as spinal surgery, without any of the surgical risks, downtime, or costs. This is why evidence-based clinical guidelines strongly recommend physical therapy and structured exercise as the first-line treatment for cervical radiculopathy.
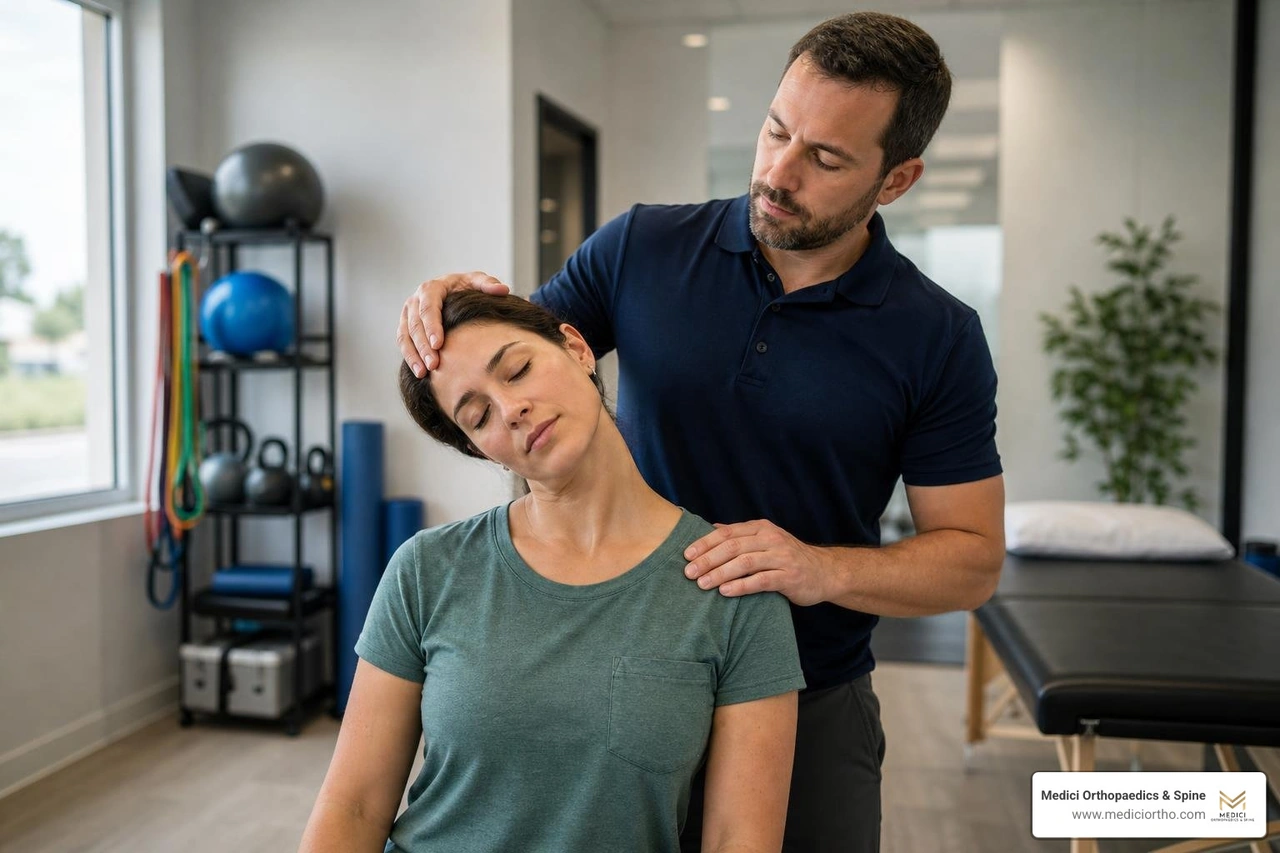
An effective cervical radiculopathy exercise program uses a structured, multimodal framework to calm an irritated nerve. Just as your lower back relies on your core, your neck has its own "core"—the deep cervical flexors (longus colli and longus capitis). These muscles run along the front of your cervical spine, stabilizing your head and maintaining proper alignment.
When a nerve is pinched, these deep stabilizers often shut down due to pain, allowing larger, superficial muscles (like the upper trapezius) to take over. This muscular imbalance leads to forward head posture (FHP), which increases the mechanical load on your cervical joints and further pinches exiting nerves.
To fix this, we utilize a progressive, four-phase rehabilitation pathway:

By combining targeted Physical Therapy with patient education, we can systematically restore normal neck mechanics. For a detailed, clinician-focused breakdown of these principles, read the Cervical Radiculopathy | Complete GUIDE for Physical Therapists - Part 4 [Evidence Based] FPF Show E:112 - Fitness Pain Free Fitness Pain Free % .
During the first 1 to 2 weeks, the nerve is highly sensitive. The goal of Phase 1 is to calm irritation, find "positions of ease," and gently activate deep neck stabilizers without aggravating arm symptoms.
To safely guide your recovery, we recommend following a structured Cervical Radiculopathy (8 Week Non-op Physical Therapy Protocol) .
During this phase, use the following exercises:
If moving your head causes sharp pain, you can activate your deep neck stabilizers using only your eyes.
This is the foundational exercise for rebuilding your neck's "core."
Isometrics maintain muscle strength without moving the irritated joints of your neck.
Once acute pain begins to settle (weeks 3 to 6), we transition to restoring range of motion and introducing neural mobilization.
Nerves are designed to slide and glide within surrounding tissues. When a nerve root is compressed, it can become sensitive to movement or get slightly stuck. Nerve flossing (or nerve gliding) gently slides the nerve back and forth through its pathway, dispersing inflammatory fluids, improving blood supply, and reducing sensitivity.
We often pair these exercises with a comprehensive, multimodal approach. Read more about how we structure these treatments in our Cervical Radiculopathy Physical Therapy: Multimodal Guide .
Here are the key Phase 2 exercises:
The median nerve travels down the front of your shoulder, arm, and into your thumb and first two fingers.
The ulnar nerve runs down the inside of your arm and into your ring and pinky fingers.
The radial nerve runs down the back of your arm and hand, often causing pain on the outside of the elbow and back of the hand.
By weeks 6 to 12, pain should be minimal. Now, we build a strong foundation to support your cervical spine and prevent recurrence. We focus on strengthening your scapular stabilizers (shoulder blade muscles) and thoracic spine (upper back). If your upper back is stiff and rounded, your neck is forced to overcompensate, placing massive pressure on cervical nerve roots.
Try these key strengthening exercises:
This exercise strengthens the middle trapezius and rhomboids, pulling your shoulders back into proper alignment.
Wall angels open up your chest, mobilize your thoracic spine, and strengthen deep back muscles.
A stable lower back and pelvis provide a solid foundation for your upper back and neck.
Once you hit the 12-week mark, your rehabilitation journey is not quite over. Approximately 33% of patients experience a recurrence of cervical radiculopathy within 5 years. To keep your neck healthy, dedicate just 10 minutes, 3 times per week, to a maintenance routine of deep cervical flexor and scapular exercises.
Additionally, pay close attention to daily ergonomics:
While staying active is almost always better than complete bed rest, performing the wrong movements can quickly flare up an irritated nerve. During the acute and subacute phases of your recovery, avoid exercises that place high vertical loads on your spine or force your neck into extreme ranges of motion.
Specifically, avoid the following:
It is completely normal to experience mild discomfort or a temporary increase in symptoms when starting a new exercise program. However, we must distinguish between acceptable muscle soreness and nerve irritation.
To exercise safely, keep your pain levels below a 4 or 5 out of 10 (on a scale where 0 is no pain and 10 is severe pain). Any mild increase in symptoms should settle back to your baseline within 5 to 10 minutes after you finish exercising, and certainly by the next day.
If your arm symptoms "peripheralize" (meaning the pain, numbness, or tingling travels further down your arm toward your hand), stop the exercise immediately. We want to see your symptoms "centralize"—meaning the pain retreats out of your hand and arm, moving back up into your shoulder and neck, even if the neck pain itself feels slightly stronger.
If you do experience a flare-up, use these simple self-management strategies:
While the vast majority of pinched nerves respond beautifully to conservative care, there are certain symptoms that indicate your spinal cord or nerve roots are under severe, progressive pressure.
You should seek immediate medical evaluation if you experience any of these "red flag" symptoms:
If you are experiencing any of these symptoms, please read our guide on Cervical Radiculopathy (Pinched Nerve) to understand your next steps.
A typical physical therapy episode of care consists of 8 to 14 visits over a period of 6 to 10 weeks. Most patients experience a meaningful reduction in pain within the first 2 to 3 weeks, while full functional recovery and complete tissue healing generally take 3 to 6 months.
Yes, some mild discomfort or a "stretching" sensation is completely normal, especially when performing nerve glides. However, you should keep your pain strictly below a 4 or 5 out of 10. If an exercise causes sharp, shooting pain down your arm that lasts for more than 5 minutes after you stop, reduce the repetitions or take a break from that specific movement.
No, you do not need an MRI to begin conservative physical therapy. A skilled clinician can accurately diagnose cervical radiculopathy through a comprehensive physical and neurological examination, using clinical tests like Spurling's test (gently compressing and tilting the head to see if it reproduces your arm symptoms). An MRI is typically reserved if your symptoms do not improve after 6 to 8 weeks of structured exercise, or if you display progressive neurological deficits or red flags.
Living with a pinched nerve in your neck can feel incredibly disruptive, but a structured, progressive cervical radiculopathy exercise program is your most powerful tool for taking back control of your life. By moving through the phases of recovery—from gentle acute relief to active nerve gliding and long-term postural strengthening—you can safely resolve your pain and match the long-term results of spinal surgery without the invasive risks.
At Medici Orthopaedics & Spine, our team, led by Dr. Sonny Dosanjh, M.D., is committed to Optimally Restoring your Quality of Life with the most effective, least invasive, least drug-dependent programs medically available today. We believe that physical therapy, exercise, targeted injections, and other non-surgical modalities work synergistically to help you restore your ability to enjoy life at the highest level.
If you are struggling with persistent neck and arm pain, let us design a personalized recovery plan tailored to your unique needs. Contact us today to schedule an appointment at one of our convenient Metro Atlanta locations in Snellville, Kennesaw, Buckhead, or Marietta.
Explore your non-surgical recovery options by visiting our page on Non-Surgical Spine Treatment in Georgia and take your first step toward pain-free movement today.
At Medici, you’re more than your MRI.
We take time to hear your story, understand your pain, and create a plan that actually works for you.

Our team delivers specialist care at convenient locations across Metro Atlanta:
Get expert tips on injury recovery, pain relief, joint health, and movement strategies—straight from our Fellowship-Trained team.